Sunday, August 28, 2011

The Sicilian Campaign renewed part I

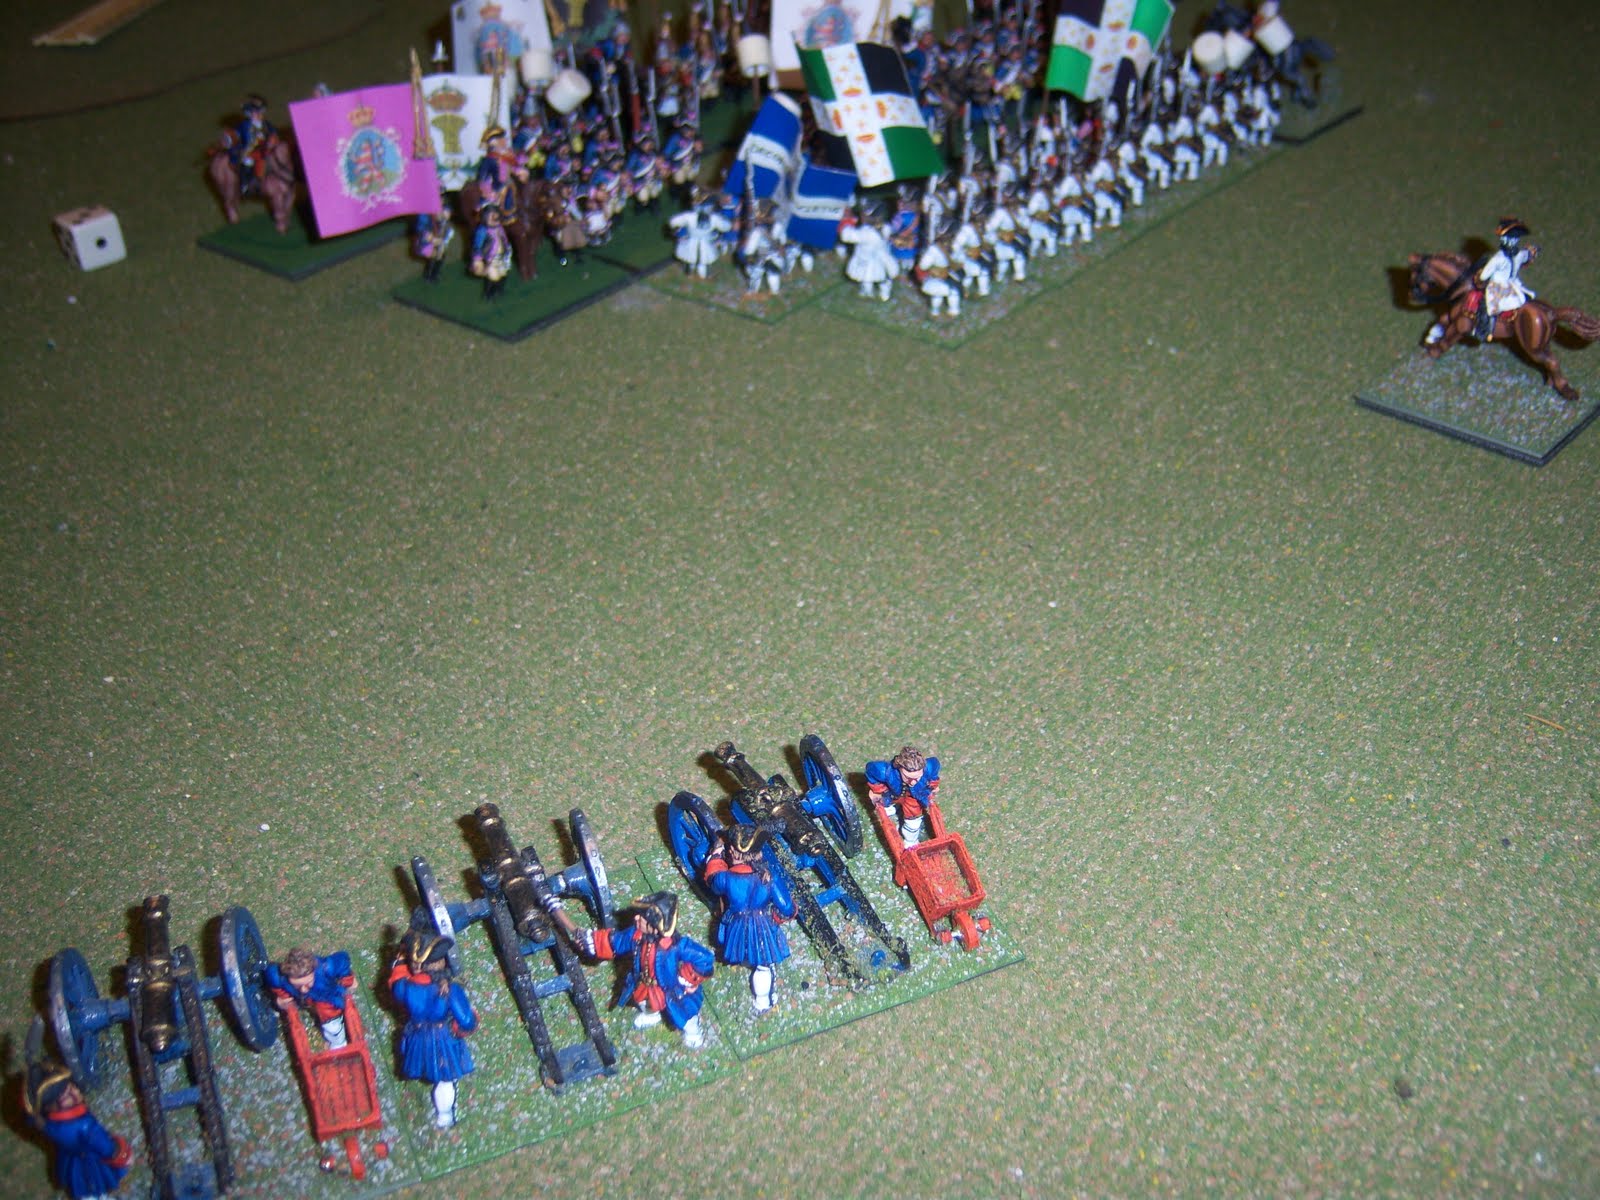
After reorganizing his army, Reich Duke Wilhelm advances on Naples.

Reich Duke Wilhelm plans to attack Naples with the two infantry brigades on his right flank.

The cavalry on the west flank are to move further west to entend the Sicilian line.

The plans seems to be working as the infantry are moving toward Naples unchallenged.

The Sicilian Infantry, which was held in reserve in the center, begins to react to the Beerstein advance on Naples.

Reich Duke Wilhelm watches as the Sicilians advance on his left flank and move their reserve infantry toward Naples. He is confident his infantry will occupy Naples long before the Sicilians realize they have been out maneuvered. Further dispatches to follow.

Wednesday, August 10, 2011

Battle of Alsfeld part II

On the far right of the Hesse-Boozewick line their numbers are being to turn the battle in their favor. The Crown Royal Garde zu Fuss and the Glenlivet Fusiliers managed to double up on a hapless French Battalion and exact heavy casualties. Meanwhile the Meyers Musketeers reengaged the same French unit and forced them back an additional several hundred paces.

Schenley's Musketeers can been seen pressing their assault on the village of Alsfeld. After an intense hand to hand fight, Schenley's Musketeers gain a firm foothold inside the village.

The French Artillery continue to pound Hesse-Boozewick infantry as the French Infantry press home their attack on Murphy's Musketeer. Although both sides sustained heavy casualties, the French forced poor Murphy's boys back several hundred paces.

A view of the second round of the cavalry battle as seen from behind the French line. Despite the gallantry of the Hesse-Boozewick Dragoons, both regiments were pushed back and sought refuge behind their infantry.

On the extreme right of the French line, the heavy brigade brace themselves for a charge of the Chivas Regal and Teacher's Cuirassiers. The Boozewick Cuirassiers quickly routed their French counterparts.

In the center of the battle line, the Boozewick Artillery begin to exact heavy punishment on the French Battery who were unable to defend themselves.

The Hesse-Boozewick Cuirassiers renew their attack on the French Heavy Cavalry and put them to flight again.

Sensing victory the Boozewick Dragoons rally and attack the stunned French Dragoons.

After a see-saw battle, Schenley's' Musketeers continued to hold their ground and push the French deeper into Alsfeld. The battle outside the village was a total Boozewick victory. The Crown Royal Garde zu Fuss overwhelmed and captured a French Battalion complete with it's flags. The French army sensing a complete rout began to retire from the field. Lord Calvert was content to hold the battlefield as his center was nearly broken by the continued vicious attacks of the French Infantry and artillery. All and all, a fine day's work!

Friday, August 5, 2011

Battle of Alsfeld part I: Duchy of Hesse-Boozewick vs the vile French

On the far left of the Hesse-Boozewick line Brigadier Graf Hiram Walker's Cuirassiers deploy. To their right is his his brothers infantry brigade. Brigadier Baron Johnny Walker "Black" leads the Seagrams Fusiliers and the Ballantine Musketeers. Brigadier Dunhill massed his brigade on a small hill facing the French center. His Glenfiddich Grenadiers and Murphy's Musketeers were merely to demonstrate and hold the French in place.

In the center of the Hesse-Boozewick line, Marshal Lord Calvert positioned the White Horse Battery. To the right of the battery, Brigadier Prince Jack Daniels brigade is formed up in column of attack. His orders were to attack the village of Alsfeld with the Schenley's Musketeers using the Meyers Musketeers as support.

On the Hesse-Boozewick far right is Brigadier von Jameson's Glenlivet Fusiliers and the Crown Royal Garde zu Fuss. Jameson's Brigade was to maneuver to the right of Alsfeld and support the main attack.

The French aggressively advance an infantry brigade in the center while their Guard Brigade formed column and extended their line to their right. The French Heavy Cavalry can been seen moving to entend the French line further to their right. On the far right of the French line two cavalry brigades are formed up to face the Hesse-Boozewick cavalry.

As the French Guard move into position, a heavy battery pivots to support the aggressive French advance in the center. Another French Infantry Brigade can be seen retiring from the Boozewick Artillery Battery attempting to form up on the out skirts of Alsfeld.

Brigadier Dunhill's Brigade has come under fire from the French battery as the French Infantry advance on his position. Brigadier Graf Jim Beam's Dragoons have moved up to fill the gap between the Hesse-Boozewick Infantry and their Cuirassiers.

Brigade Dunhill watches as the French approach and begins to hope Baron Johnny Walker's Brigade will turn and flank the attacking French.

Meanwhile on the Hesse-Boozwick right, Prince Jack Daniels begins to double out his columns into line. The Meyers Musketeer, still in column, can be seen charging a French Infantry Battalion.

From another angle, the Schenley's Musketeers can be seen assaulting the village of Alsfeld. As fate would have it, both attacks were won by the Boozewickers forcing the French to retire several hundred paces.

On the Hesse-Boozewick left, the Dragoons attacked the French cavalry and drove both regiments back several hundred paces. The French Infantry can be seen fast approaching Baron Walker's Brigade while the French Artillery continues pounding his exposed infantry. The battle report will continue is future dispatches.

Thursday, July 21, 2011

Reich Duke Wilhelm orders his troops to retire to the village of Warsteiner

On the Beerstein right flank, the Coors Cuirassiers attacked the Lorraine Limoges Cuirassiers and pushed them back several hundred passes. The Coors Cuirassiers held the ground to assist the Oldenburg Grenzers who were attacked by the Languedoc Cuirassiers. Amazingly our grenzers were able to repel the Lorraine Cuirassier with heavy losses.

On the left center, the Pabst Musketeers were attacked by the Lorraine Guards and the Burgundy Battalion. Reich Duke Wilhelm watches as the Provence Battalion attacks the Isenbeck and Auerbrau Musketeers. It looks like the the Lorraine troops are on a roll.


On the right flank things look promising for the Beersteiners. Both Lorraine Cuirassiers have been pushed back and the Warsteiner Fusiliers seem to be out shooting the Champagne Battalion. Brig Sir David seems very pleased indeed!

On the far right, the Holstein Leib Hussars have been repulsed by the Loire Grenzers and the Auerbrau Musketeers have been severely damaged by the Lorraine Artillery Battery and an attack by the Provence Battalion.

The gallant Holstein Hussars were repulsed again by the Loire Grenzers. Both units have suffered heavy casualties, but the Lorrainers were clearly victorious.

In the center, the Pabst Battalion forced the Lorraine Guard to retire several hundred passed and saved the Auerbrau Battalion from complete destruction. Although the center is holding the Beerstein boys are still in a difficult position.

Reich Duke Wilhelm watches as the Lorraine Infantry renew their assault in the Center. Despite the Slitz Battery finally getting into position on a low ridge it looks bad for the Beersteiners.

Reich Duke Wilhelm ordered the Corona Cuirassiers and the Warsteiner Fusiliers to attack the Chablis Battalion. Under the cover of this final assault, the Beerstein army retires from the field yielding Heineken Abbey in the hands of Landgrave Camil de Lorraine.
Tuesday, July 19, 2011

Landgrave of Lorraine attacks Barony of Brewswick

Brig Louis St. Pern leads his Languedoc and Limoges Cuirassiers on the left flank.

The Lorraine center is composed of Brig James Ferry's first line (Provence, Burgandy, and Champagne Battalions) and Brig Edmond Villiaume's second line (Lorraine Guards and Chablis Battalions).

The Lorraine right flank is anchored on the Abbey of Heineken. The Loire Grenzers protect the Grenoble Artillery Battery.

As Brig Duc Ferry's advance in the center, Beerstein's Brig Graf Lager Bierman's Augerbrau and Isenbeck Musketeers form a two line defense on the left.

Maj Gen, Sir David Linienblatt advances the Warsteiner Fusiliers and the Pabst Musketeers on the right to try to stem the Lorraine advance. The Warsteiner Fusiliers take aim at the Burgundy Battalion and fire a devastating first volley. Despite the losses, the Lorraine Infantry continue their advance.

After a stout defensive action, the Lorraine first line falls back several hundred paces to regroup. Brig St. Pern was able to quickly rally his troops and continues his attack on the brave Beerstein boys. The Battle rages on and will be continued in a future dispatch.

Monday, July 11, 2011

Last Lorraine Cavalry Brigrade arrives in camp

Brigadier Armond d'Clermont directs his mixed brigade of Dragoons and Hussars.

The Cote Rote Dragoons emerge from a village to join the Cotes de Bourg Hussars.

A close look at the Cotes de Bourg Hussars and their flamboyant colonel.

The Cote Rote Dragoons form up in their new training area. Now that the Lorraine troops are all mustered on our northern border, what are their intentions?

Friday, July 8, 2011

Lorraine Dragoon Brigade sighted

Brigadier Louis St. Pern takes command of the Lorraine Dragoon Brigade.

The Cremaut d'Lille Dragoons form up in their training area.

The Artois Dragoons drill in the summer heat.